How To: Create a walkthrough and leave a markup
Use this when you want to prepare a few important views of a model for someone else to review, then point out a specific point for them to respond to.
1. Open your model
Open the model you want to review.
Use Orbit, Pan, and Zoom to find the first view you want to save.
For this guide, imagine you are preparing a short review of a house:
-
Overall exterior
-
Ground-floor plan
-
Entrance area
2. Set up your first view
Position the model exactly how you want someone else to see it.
Choose the display style, camera angle, zoom level, section, and visible layers you want for this view.
3. Save the view as a Scene
Find the Scenes panel.
Save the current view as a new scene.
Give it a useful name, such as:
01 — Overall
4. Create the second view
Move the camera to the next part of the model you want to show.
For example, zoom into the ground floor. Adjust the view until the important geometry is clearly visible.
Save this view as another scene:
02 — Ground Floor
5. Create the view; leave a markup
Navigate to the part of the model you want your colleague to review.
For example:
03 — Entrance
Zoom in so that the problem is clearly visible. Save this view as a third scene.
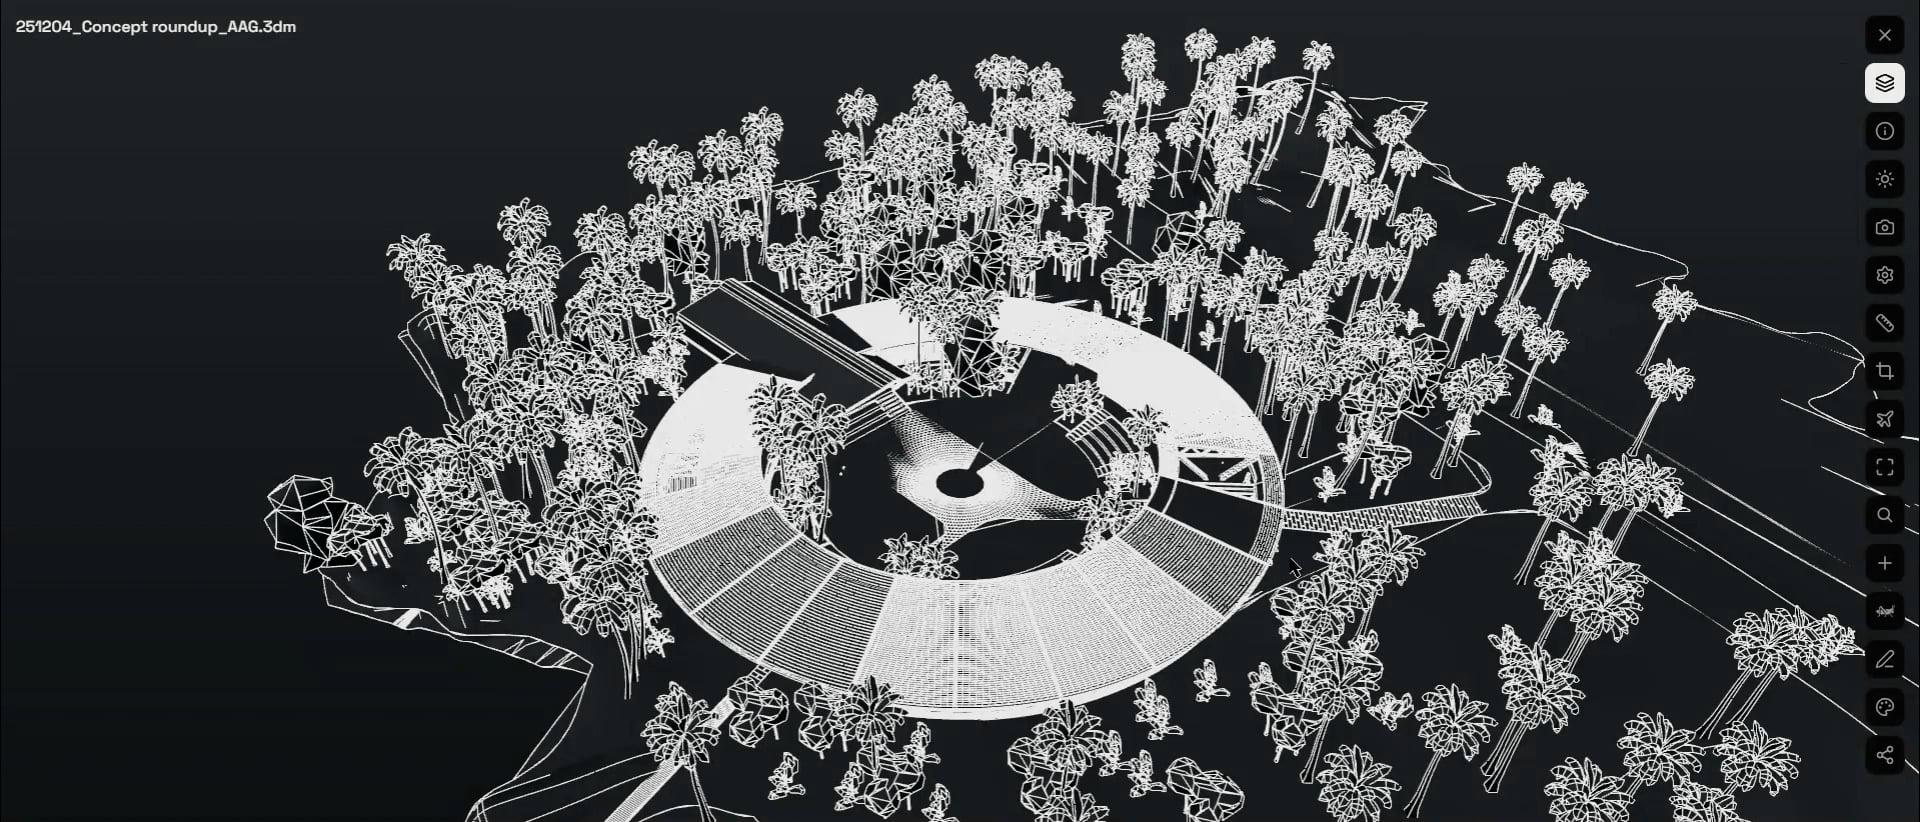
6. Open the markup tools
Find the Markup controls.
Differential’s markup tools let you draw and annotate on top of the model.
Add a short annotation explaining what needs attention.
For example:
Entrance door needs to be moved 100 mm to the left.
Keep the note specific enough that your colleague knows exactly what you are asking them to look at.
7. Save the markup
Save the markup so that it becomes part of the review.
Your scenes should look like this now:
01_Overall → 02_Ground Floor → 03 — Entrance → 03_Markup
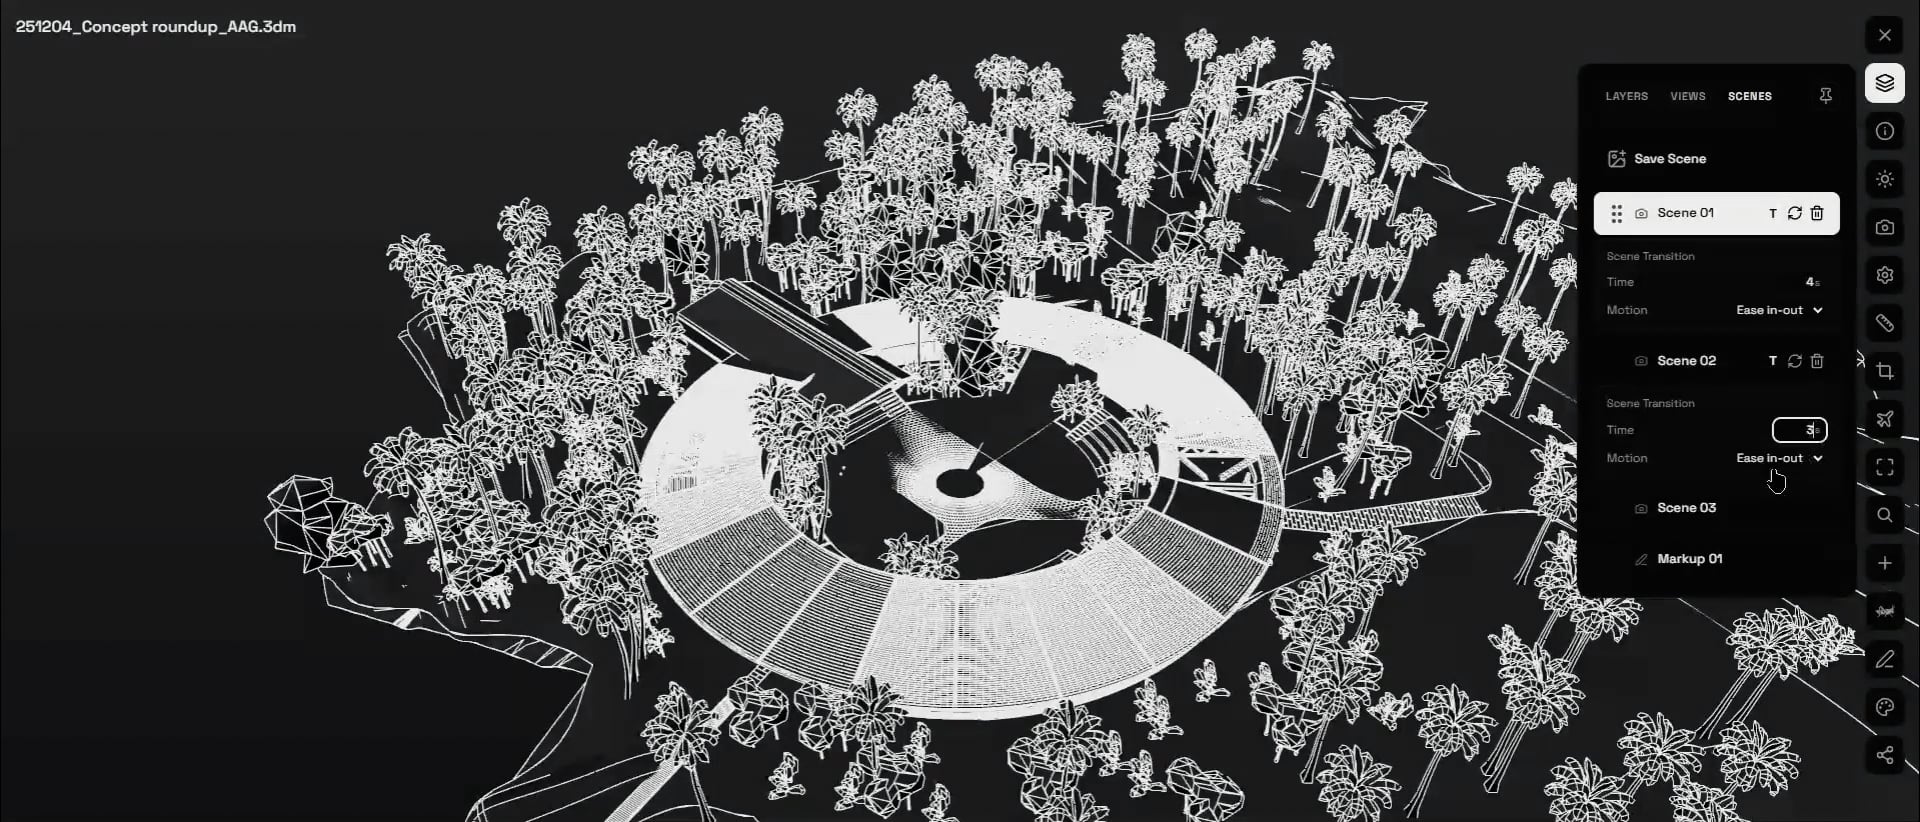
8. Find Transition Settings on the Scenes panel
Find the letter T next to the scenes you just created.
The settings are applied to the next scene after the editable one.
For example, if you edit the transition of Scene_1, it means the transition between Scene_1 and Scene_2 will be changed.
There are a few options you can pick from: Time of the transition, Type of the motion.
Let’s take a closer look at the types of motion:
-
Linear — moves at a constant speed;
-
Ease In — starts slow and speeds up;
-
Ease Out — starts fast and slows down;
-
Ease In and Out — starts slow, speeds up, then slows down.
9. Set suitable Transition Settings
Let’s set smooth Ease In and Out for the scenes we have created, including markup.
10. Create a short model review
Now create a complete mini-review:
-
Open the Export panel;
-
Go to the Sequence tab;
-
Set Scene Range, include all the needed scenes starting with 1_Overall view and finishing with markup;
-
Adjust the video settings to your needs;
-
Play the sequence;
-
If you are satisfied with the result - press Export Video or play it in the viewer for the colleague you need a feedback from.