How To: Projects, Workspaces and Members
Create a project, add a model and invite a colleague
Use this when you want to move beyond simply viewing a model on your computer and create a shared place where you and your team can work with models together.
1. Sign in to Differential
Open Differential and sign in to your account.
2. Open your workspace
After signing in, open the workspace where you want to create the project.
A workspace is the shared space for a team. Projects sit inside the workspace, so you can think of the structure as:
Workspace → Projects → Models
3. Create a project
Find and select Create Project.
Give the project a name that will make sense to your team.
For example:
Bayside House Concept
Then confirm the project creation.
Your new project should now appear inside the workspace.
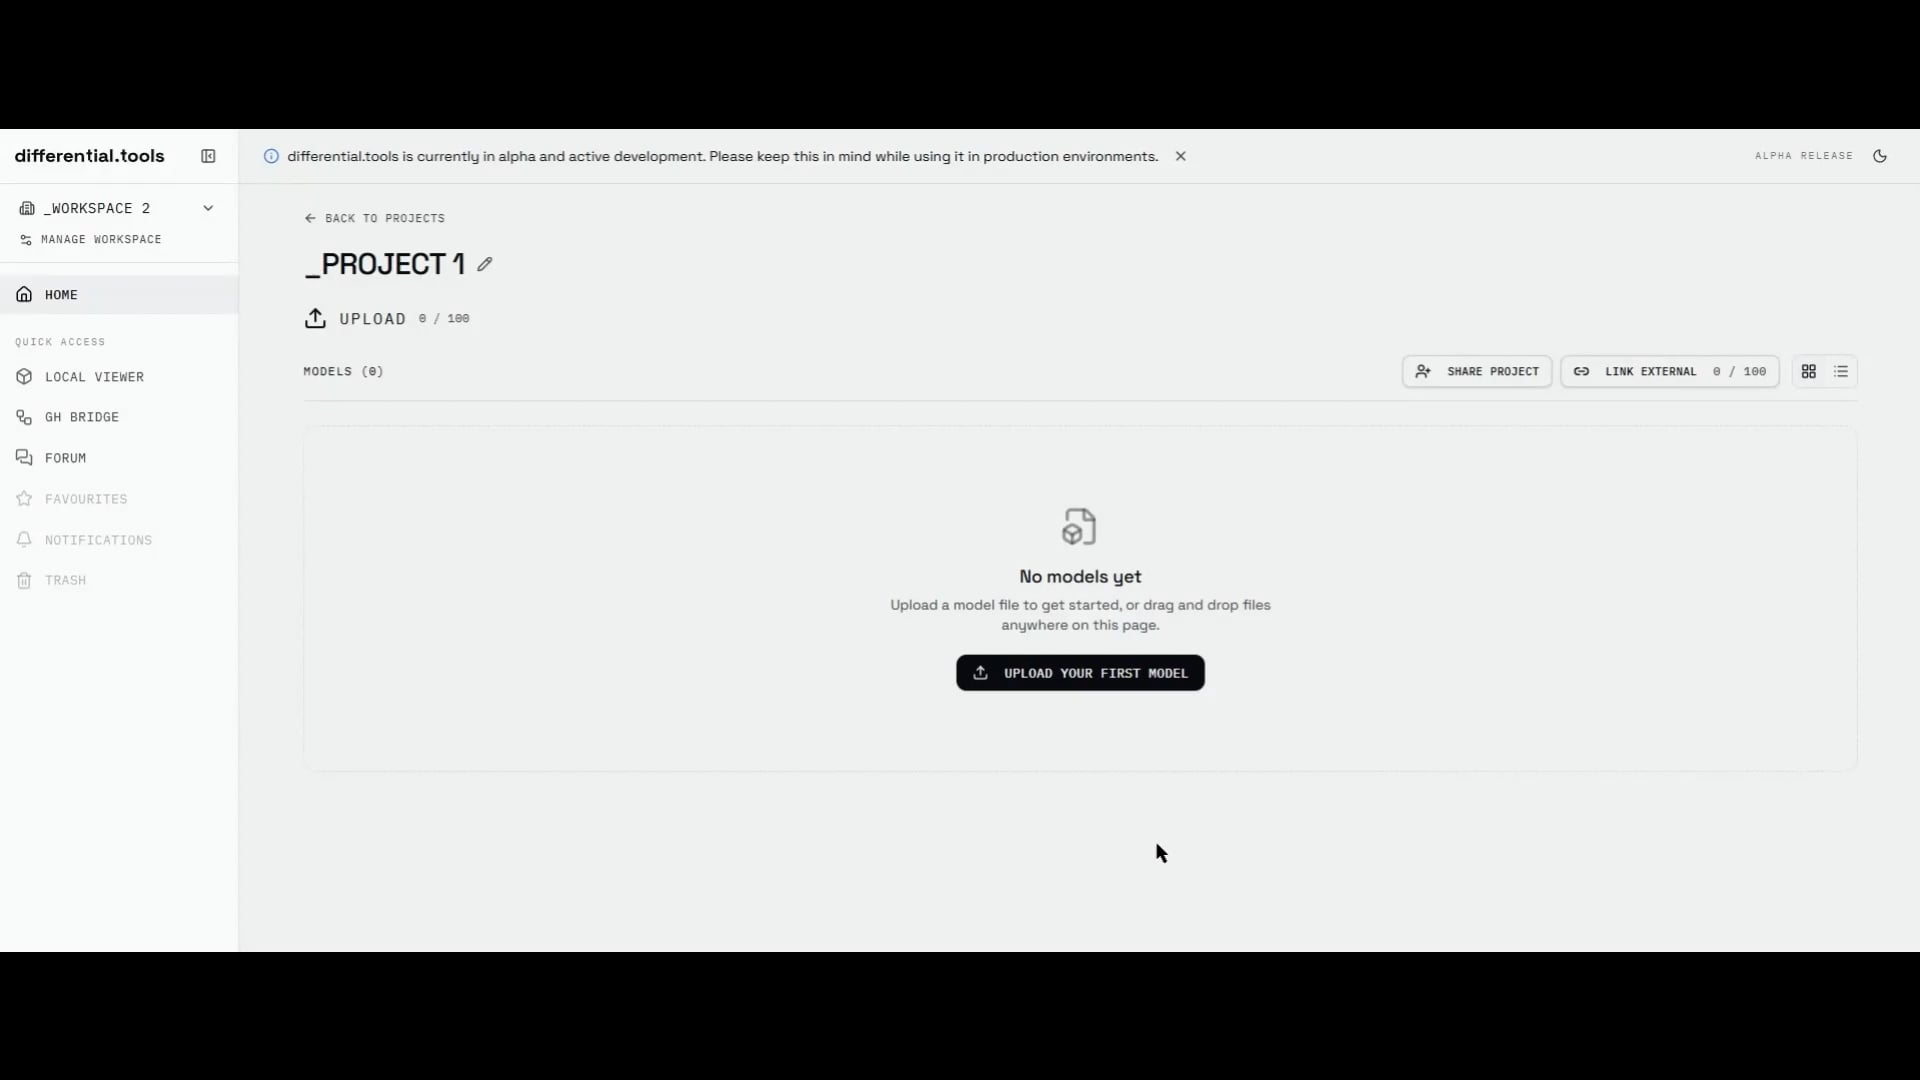
4. Open the project
Select the project you just created.
You should now be inside the project’s workspace rather than the general workspace view.
This is where you will add the models belonging to this project.
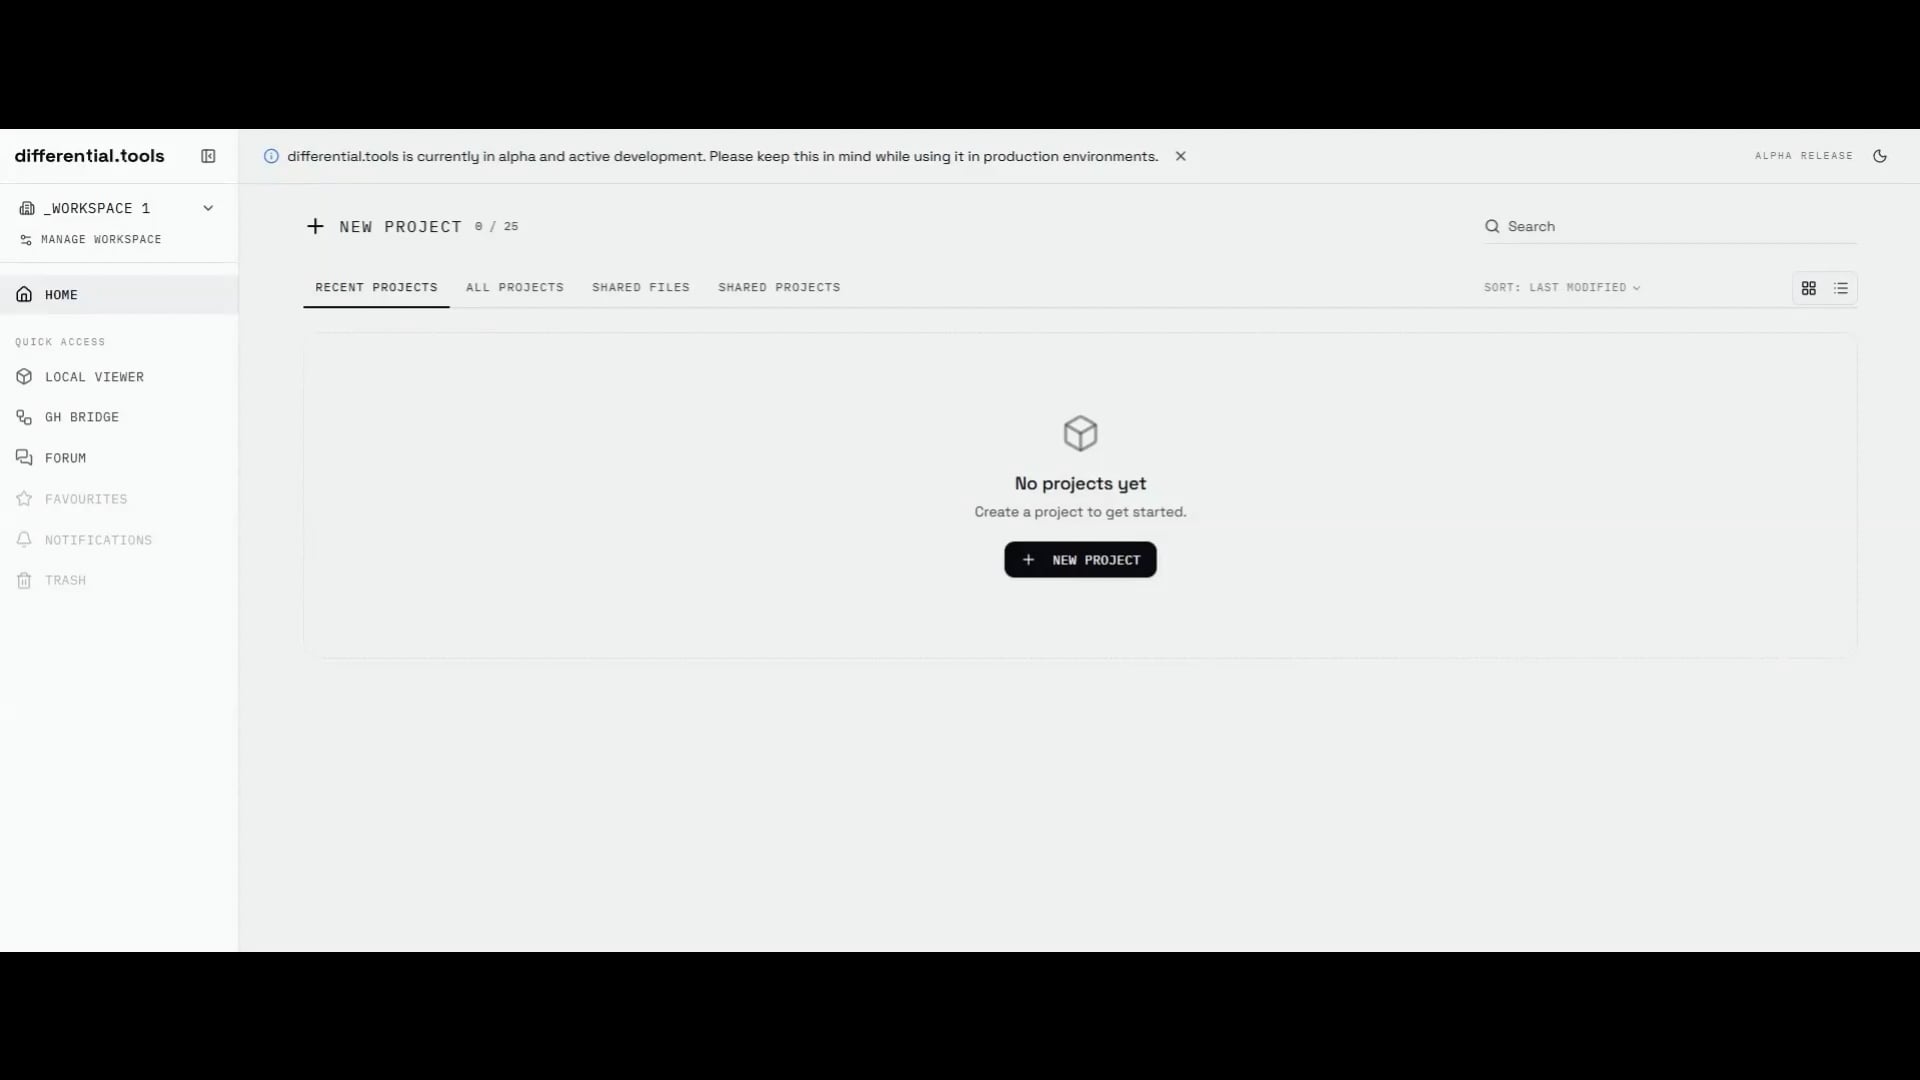
5. Add your model
Select the Upload Your First Model button.
Choose the model you want to add from your computer.
For example:
-
Rhino .3dm
-
SketchUp .skp
-
IFC .ifc
Differential’s cloud projects support both uploaded models and models linked from external sources.
For this first project, use a local file so you can see the complete upload workflow.
6. Wait for the model to finish processing
After selecting the file, wait for the upload and processing to finish.
Once it is ready, the model should appear in your project and can be opened in the browser viewer.
You now have: Workspace → Project → Model
The important difference from the Local Viewer is that this model is now part of a saved cloud project, rather than simply being opened locally in your browser.
7. Invite a colleague
Go back to your workspace’s controls - Manage Workspace and find the option to Invite Member.
Enter your colleague’s email address. Pick the role - that will define their ability to access the model.
Send the invitation.
Your colleague will receive an invitation to join the workspace.
8. What happens when they join?
Once your colleague accepts the invitation, they become a member of the shared workspace.
That means you are no longer working with an isolated model on your own computer. You now have a shared workspace containing your project and its models.
Workspace members can access the shared workspace and its projects according to their permissions.
9. Check the finished project
Open your project once more.
You should now be able to see:
-
your project
-
the model you uploaded
-
the colleague you invited
At this point, you have moved from simply viewing a model to having a shared place where your team can keep and work with project models.
The structure to remember
The workspace is the team-level container.
The project is where the models for a particular piece of work are organized.
The models are the actual files you are viewing and coordinating.
If something is not working, you find an issue, or you have a feature request, feel free to create a post in the relevant topic on the differential.tools forum.